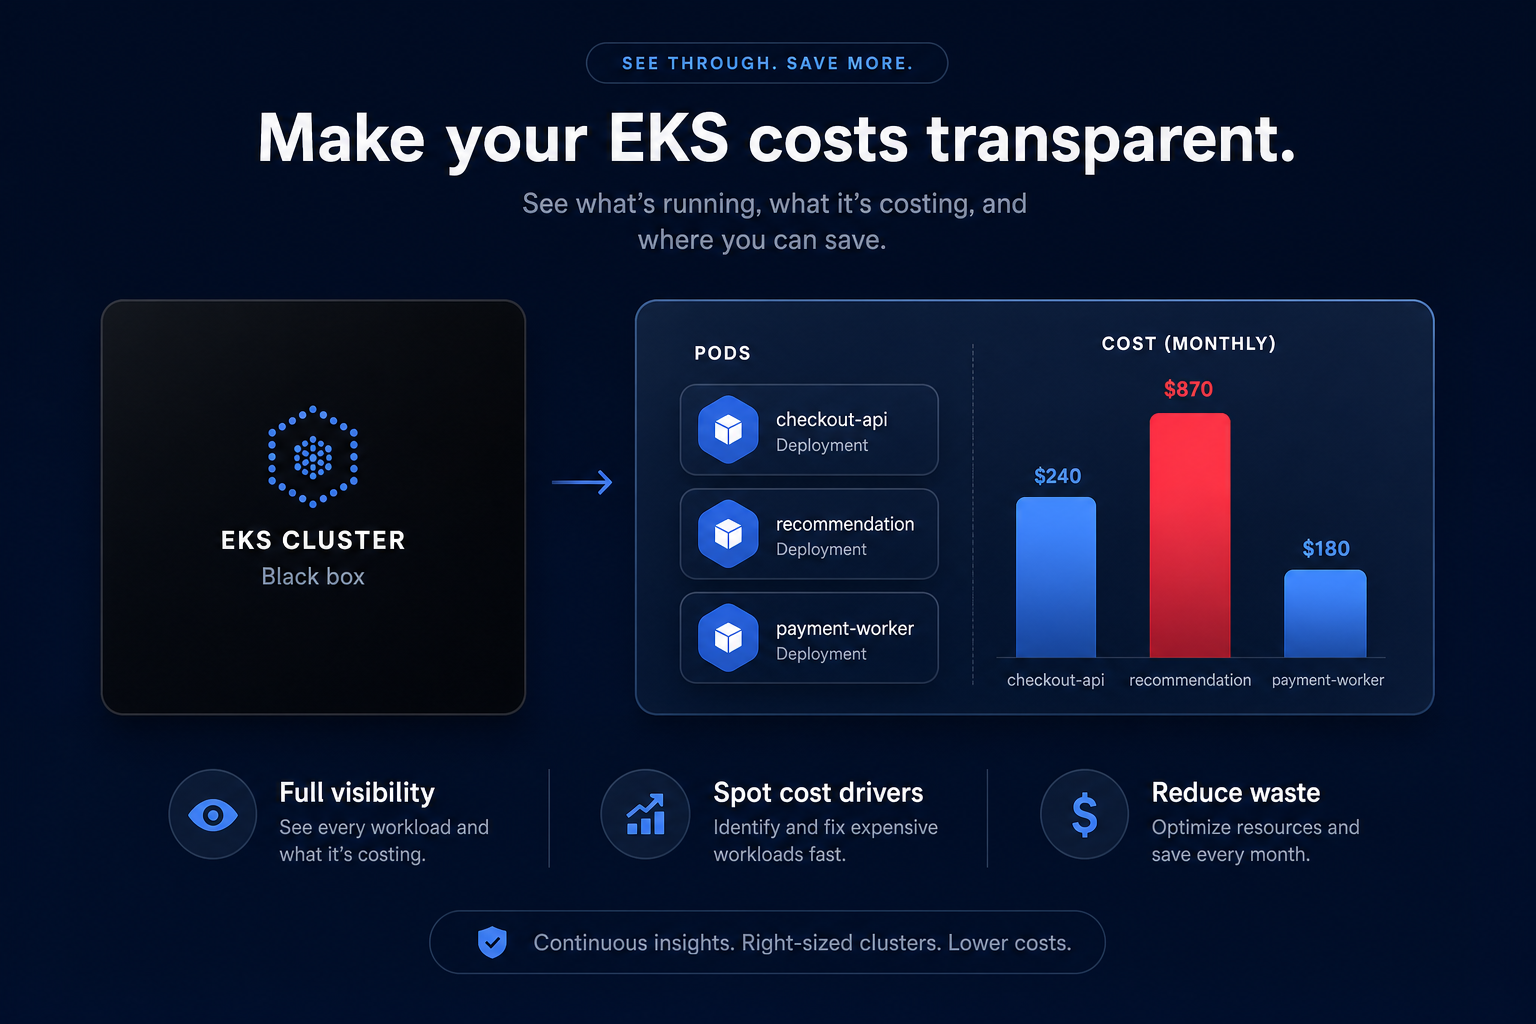
Are you tired of Kubernetes being a financial black box where pod costs vanish into your monthly AWS invoice? While Amazon EKS scales effortlessly, it often hides which specific microservices are draining your budget. Kubecost provides a financial X-ray to monitor spending at the pod, deployment, and namespace level.
By following this guide, you can move from reactive billing surprises to proactive cloud observability and cost management.
Prerequisites for a successful deployment
Before you begin the installation, ensure your environment meets the minimum requirements to avoid common deployment errors. According to Amazon EKS documentation, you should have an active Amazon EKS cluster, ideally running version 1.23 or newer. You also need Helm 3.9 or later installed on your local machine to manage the deployment effectively.
A critical requirement for EKS users is the installation of the Amazon EBS CSI driver. Kubecost requires persistent volumes to store its Prometheus metrics and historical cost data. Without this driver and an associated IAM service account with the `AmazonEBSCSIDriverPolicy` attached, your cost data will disappear every time a pod restarts.
Installing Kubecost using Helm
While AWS offers an EKS add-on for simple setups, using Helm provides the flexibility most DevOps teams need for custom configurations. You can install the AWS-optimized bundle, which is available at no additional cost for single-cluster monitoring, allowing you to visualize your Kubecost architecture immediately.
First, add the Kubecost Helm repository and update your local charts:
`helm repo add kubecost https://kubecost.github.io/kubecost/`
`helm repo update`
Next, deploy the analyzer into a dedicated namespace. For EKS users, it is often better to use the EKS-optimized values file to ensure the configuration aligns with AWS-specific resource naming. You can pull the AWS-optimized bundle from the Amazon ECR Public Gallery using the following command:
`helm upgrade -i kubecost oci://public.ecr.aws/kubecost/cost-analyzer –version 1.99.0 –namespace kubecost –create-namespace -f https://raw.githubusercontent.com/kubecost/cost-analyzer-helm-chart/develop/cost-analyzer/values-eks-cost-monitoring.yaml`
Accessing the Kubecost dashboard
Once the installation is complete, you must verify that the pods are running correctly. You can check the status by running `kubectl get pods -n kubecost`. Once the status shows as “Running,” you can expose the dashboard to your local machine using port forwarding.
Run the following command to bridge the deployment to your local environment:
`kubectl port-forward –namespace kubecost deployment/kubecost-cost-analyzer 9090`
You can now open your browser and navigate to `http://localhost:9090` to view your real-time spend. For production environments, consider more robust access methods like setting up an Ingress controller or securing access with Amazon Cognito to ensure only authorized stakeholders can view financial data.
Configuring AWS billing integration
Out of the box, Kubecost uses public list prices to estimate your spend. To get accurate data that reflects your specific AWS rate optimization strategies, such as Savings Plans and Reserved Instances, you must integrate it with your AWS Cost and Usage Report (CUR).
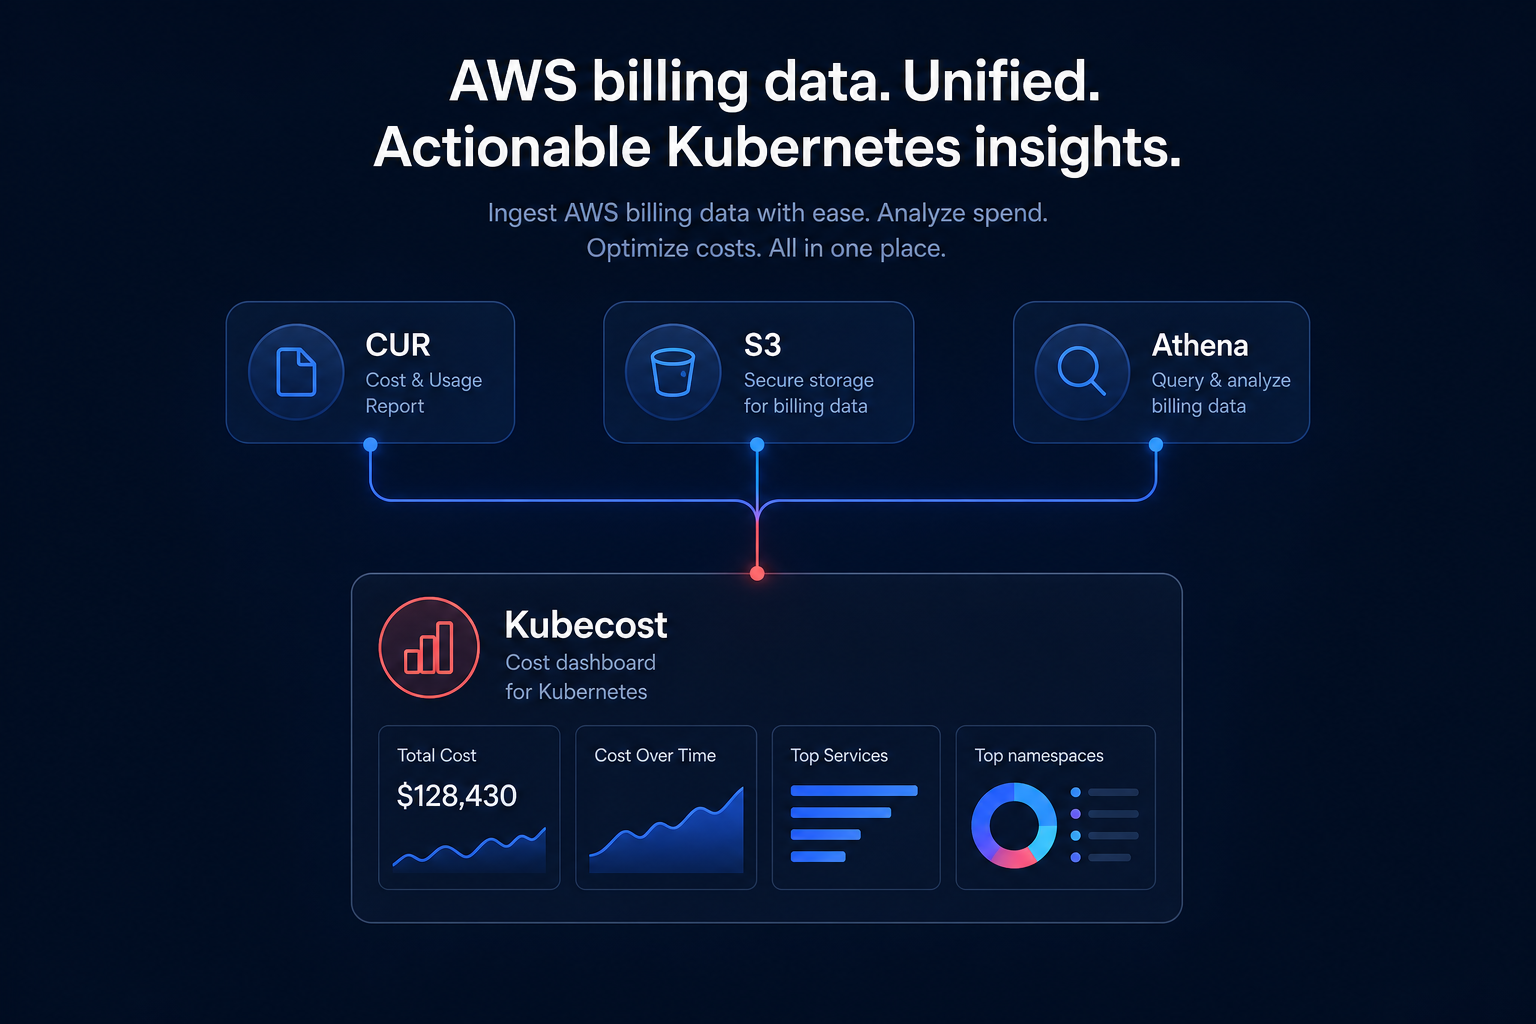
According to Kubecost’s integration guide, this reconciliation requires a specific workflow:
- Create a CUR in the AWS Billing Console with daily granularity and Athena integration enabled.
- Set up an S3 bucket for Athena query results in the same region as your CUR bucket.
- Create an IAM role that allows Kubecost to read from the CUR S3 bucket and execute Athena queries.
- Provide your AWS Account ID, Athena Database, and Table names in the Kubecost Cloud Integration settings.
Once these steps are complete, Kubecost will reconcile its in-cluster metrics with your actual AWS bill. This provides a unified view of both Kubernetes cost monitoring and out-of-cluster expenses like RDS or S3.
From visibility to automated savings
Installing Kubecost is the first step toward reclaiming your cloud budget. Visibility often reveals that 15% to 30% of cluster spend is wasted on idle capacity. While Kubecost alerts will notify you when you are overspending, someone still has to do the manual work of rightsizing pods or managing complex instance commitments.
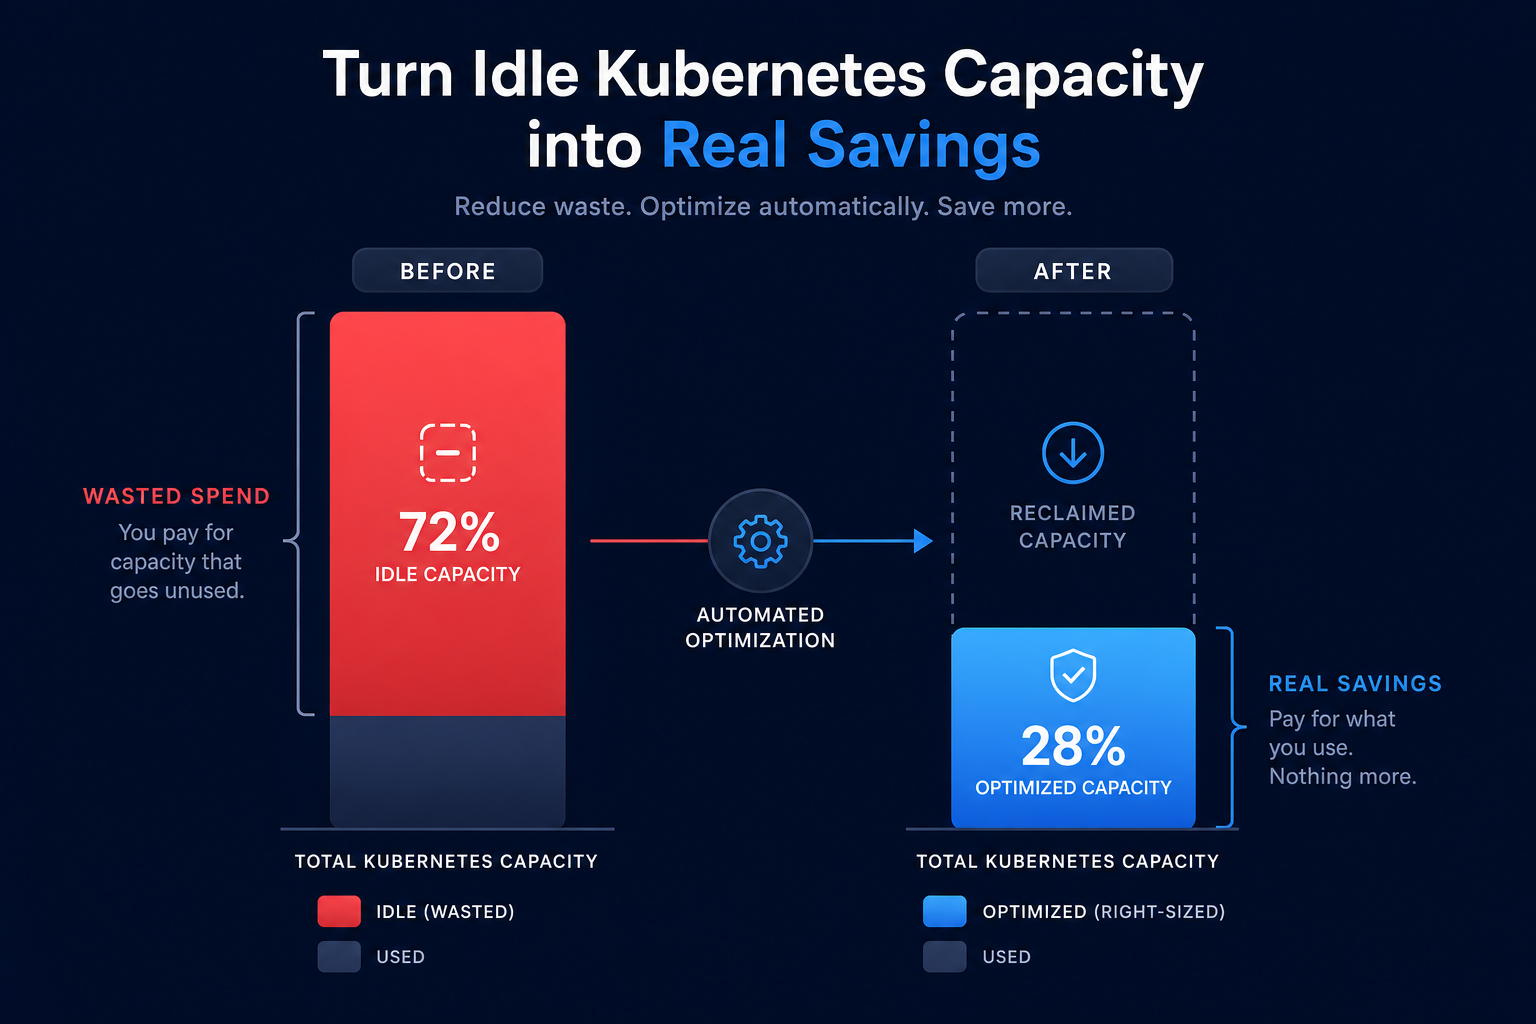
Hykell takes the insights you gain from tools like Kubecost and puts them on autopilot. Our platform provides automated AWS cost optimization that reduces your bill by up to 40% without requiring ongoing engineering effort. We handle the heavy lifting of rate optimization and workload efficiency, ensuring you only pay for the resources you actually need.
If you are ready to stop just watching your costs and start reducing them automatically, calculate your potential savings or book a call with our experts today.