Are you flying blind when it comes to your EKS spend? Most organizations overspend on Kubernetes by 30–50% simply because they cannot see which specific workloads drive up the bill. Kubecost provides the financial microscope needed to attribute every dollar to a specific team.
Why visibility is the first step toward EKS efficiency
While the Amazon EKS control plane only costs $0.10 per hour per cluster, the underlying data plane – the EC2 instances, EBS volumes, and network egress – often represents a massive, unallocated black box. Standard AWS Cost Explorer views provide account-level data, but they lack the granularity to show you which specific pod or namespace is wasting resources.
By integrating Kubecost, you bridge the gap between infrastructure and application costs. This visibility allows you to implement cloud chargeback and showback strategies by mapping Kubernetes labels and namespaces to real-world business units. Research indicates that organizations using these visibility tools often identify zombie resources that account for 15–30% of total cloud costs. Without this level of detail, engineering leaders struggle to hold teams accountable for the resources they consume.
Technical prerequisites for a successful deployment
Before you begin the installation, ensure your environment meets the baseline requirements for stability and performance. Your cluster must be running Amazon EKS version 1.23 or later, and the Amazon EBS CSI driver is mandatory for these versions to manage the persistent storage used by Kubecost’s metrics database. From a resource perspective, your cluster requires at least 2 vCPUs and 4GB of available RAM to support the underlying Prometheus and ClickHouse components effectively.
You must also establish the correct IAM permissions to interact with the AWS Cost and Usage Report (CUR). This integration is vital if you want to reconcile AWS-specific discounts like Savings Plans and Reserved Instances against your actual Kubernetes usage. Without these permissions, the platform cannot provide an accurate picture of your effective savings rate or spot instance pricing.
Deployment methods: EKS add-on vs. Helm
There are two primary ways to deploy Kubecost, both of which utilize an AWS-optimized bundle available through the Amazon ECR public gallery. The Amazon EKS add-on is the recommended path for engineering leaders who want a pre-configured, supported setup. This method simplifies installation and ensures that the version of Kubecost you are running is validated for your specific cluster version. You can trigger this deployment through the AWS Management Console, AWS CLI, or Terraform.
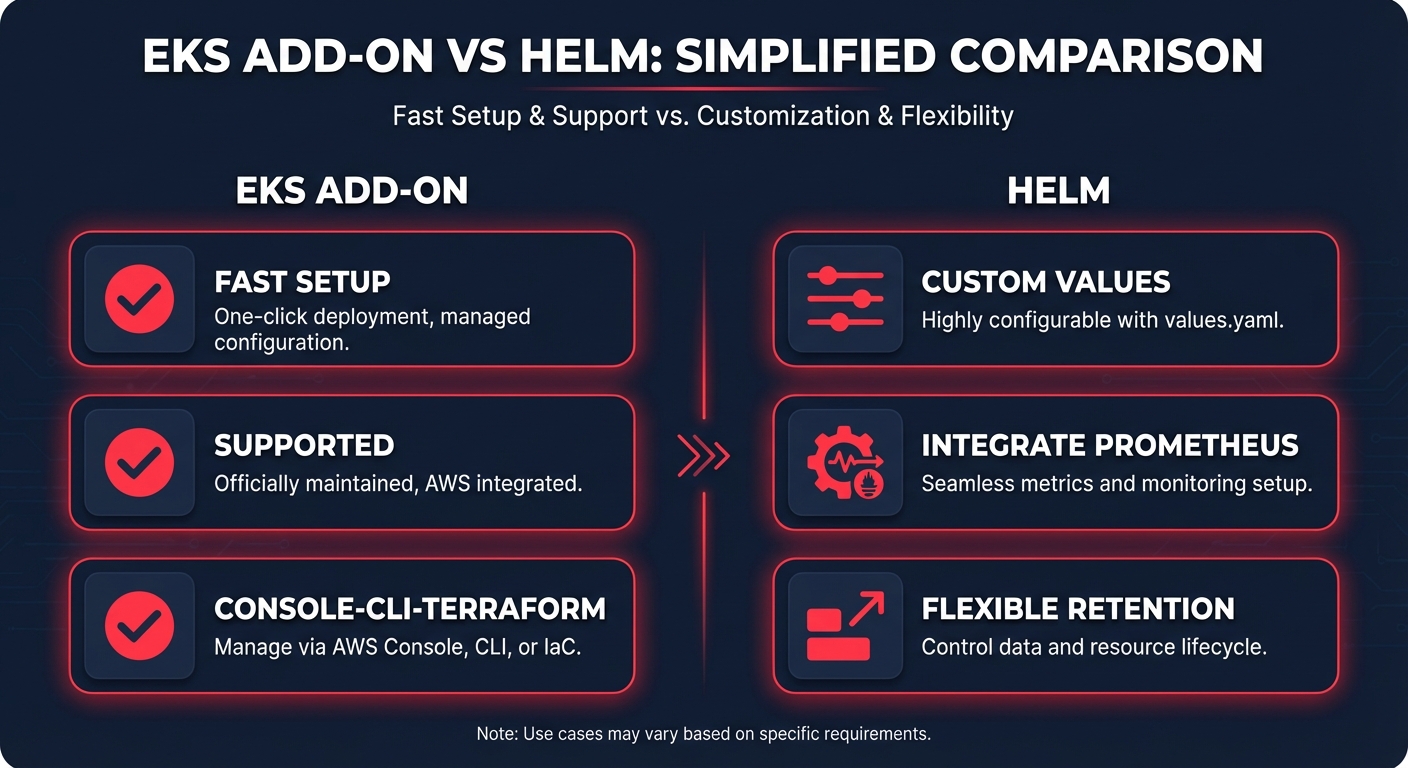
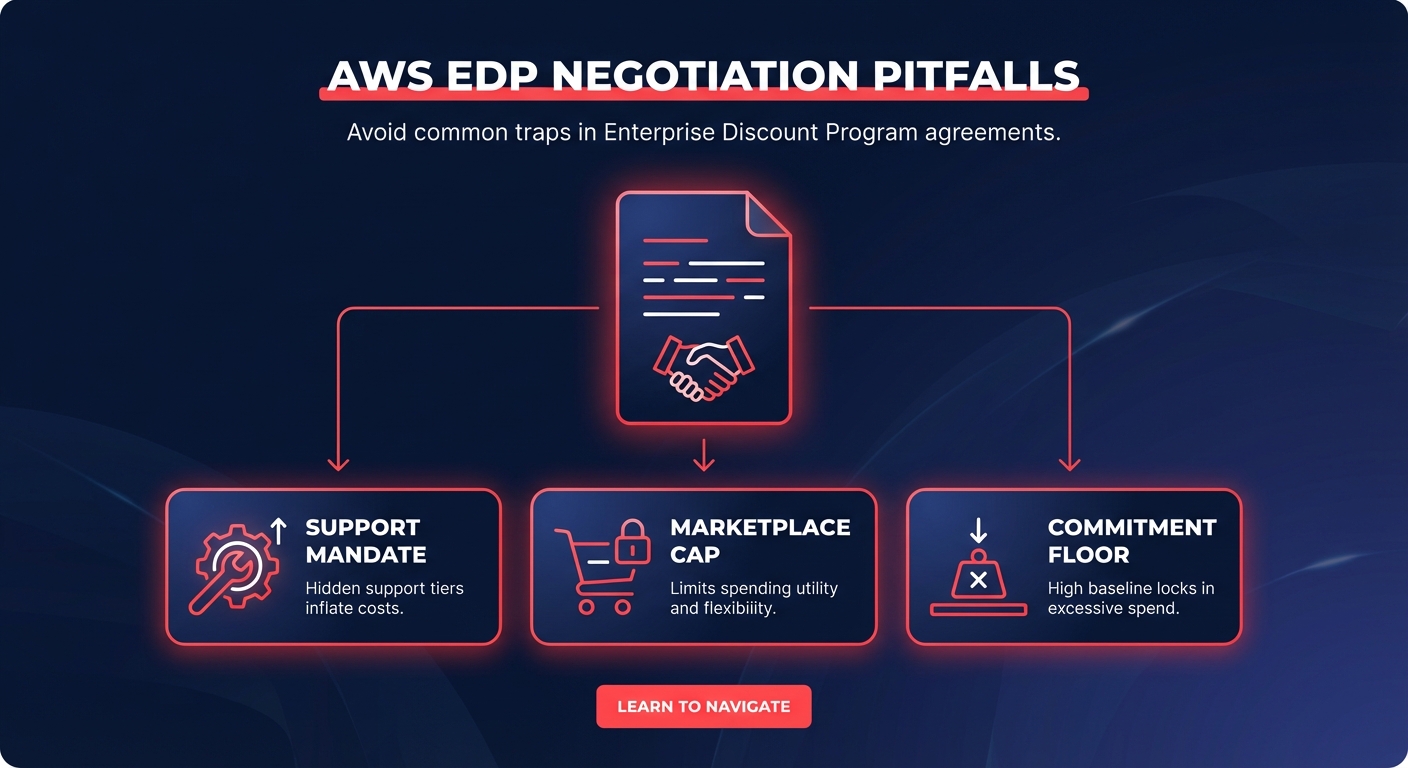
For organizations that require deeper custom configurations, such as integrating with an existing Amazon Managed Service for Prometheus, the Helm 3.9+ installation is the superior choice. By adding the Kubecost Helm repository, you can install the bundle using a values file tailored to your specific environment and metrics retention needs. Regardless of the method you choose, you must enable the AWS Cost and Usage Report (CUR) integration. Without this link, Kubecost relies on generic list prices that do not reflect your Enterprise Discount Program (EDP) or actual billing reality.
Quantifying and realizing cost savings
Once the deployment is complete, Kubecost provides an immediate breakdown of cost by cluster, namespace, workload, and team. This data serves as the foundation for Kubernetes optimization on AWS, allowing you to target three primary areas of waste. First, pod rightsizing identifies the gap between your CPU and memory requests and your actual usage. Aligning these requests with real-world demand can lead to savings of up to 40% on Kubernetes workloads.
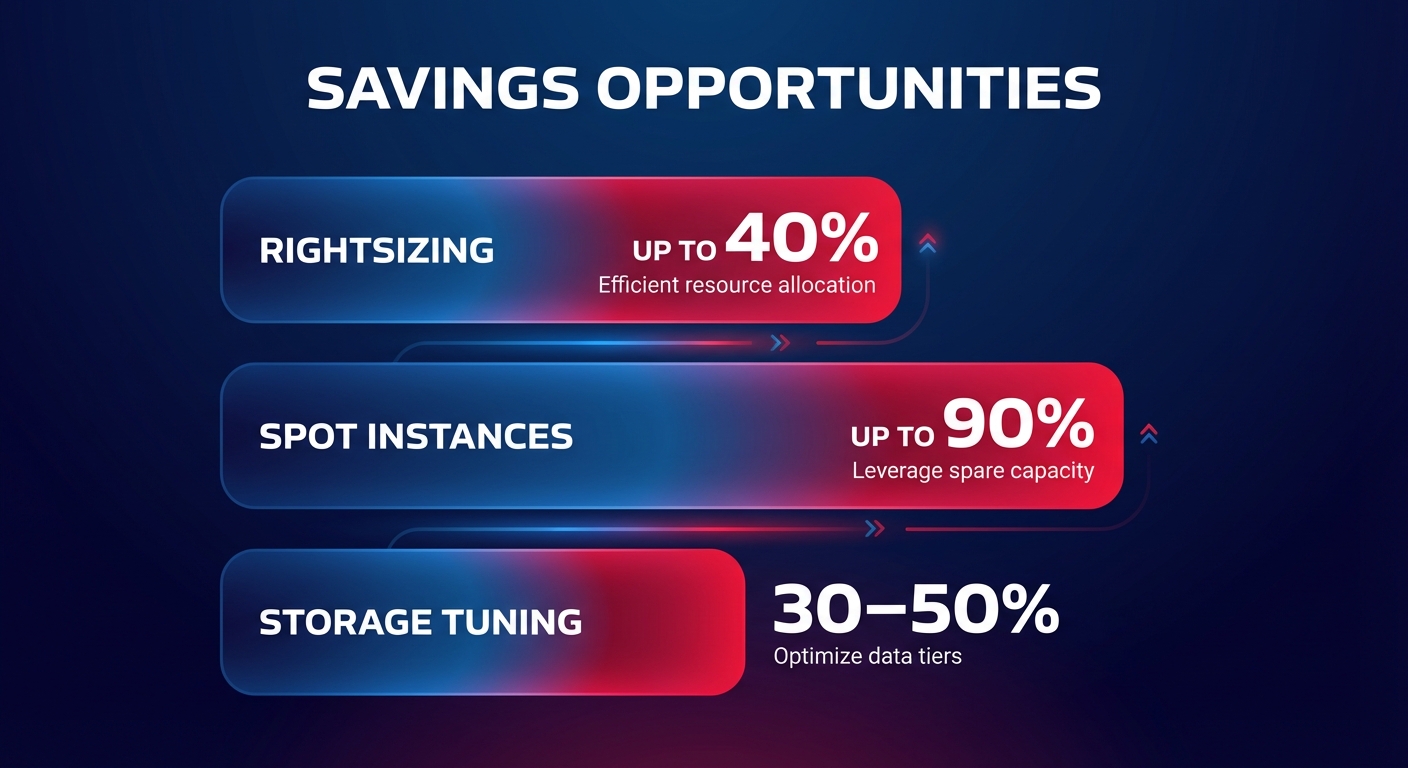
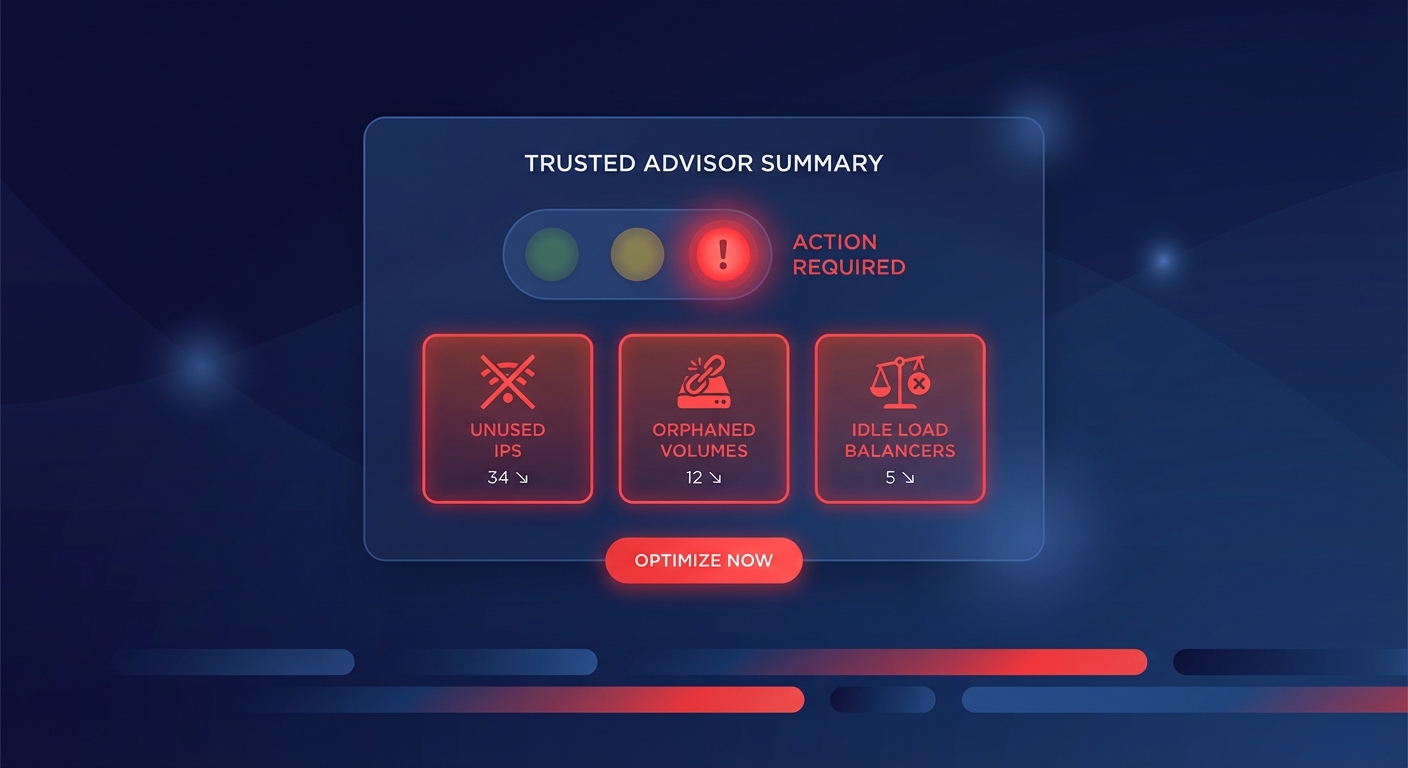
The dashboard also excels at flagging underutilized nodes and unused persistent volumes. Reclaiming these orphaned resources often results in immediate four-to-five-figure monthly savings for large-scale environments. Furthermore, for non-critical or fault-tolerant workloads, Kubecost identifies which pods are ideal candidates for Spot Instances. Shifting these workloads can cut compute costs by up to 90% compared to standard on-demand pricing.
Moving from visibility to automated optimization with Hykell
Kubecost is an exceptional tool for showing you where the money goes, but visibility alone does not lower the bill – action does. Many engineering teams find that while they now have the data, they lack the engineering bandwidth to constantly tune instance types or manage complex commitment portfolios. This is where Hykell layers on top of your observability stack to implement heavy-hitting optimizations on autopilot.
While Kubecost monitors your namespaces, Hykell actively manages your AWS Savings Plans and Reserved Instances in real-time. This ensures you always maintain maximum coverage without the risk of over-committing. We also handle the technical transition to AWS Graviton instances, which typically offer 18–20% lower hourly costs and better performance-per-watt for containerized services.
Beyond compute, our automation engine focuses on EBS tuning. We automatically migrate volumes from gp2 to gp3 and eliminate orphaned storage, frequently saving customers 30–50% on storage costs. By combining Kubecost’s granular insights with Hykell’s automated implementation, you transform FinOps from a manual auditing task into a continuous competitive advantage. Most Hykell customers reduce their total AWS spend by up to 40% without their developers having to change a single line of code.
Stop guessing which Kubernetes services are draining your budget and start optimizing your infrastructure for peak performance and minimal waste. Calculate your potential AWS savings today and see how much you could reclaim with Hykell’s performance-based optimization.