Are you still relying on gp2 burst credits during production spikes? Most AWS environments leak 30% of their storage budget through overprovisioning and antiquated volume types. You can reclaim that spend while actually improving performance by following these engineering-first EBS best practices.
Architecting for performance: SSD vs. HDD selection
Selecting the right volume type serves as the bedrock of your cloud architecture. For mission-critical workloads, SSD-backed volumes are the industry standard for their low latency and high IOPS. While gp3 volumes are now the default for the majority of general-purpose workloads – offering 3,000 baseline IOPS regardless of size – some databases require the sub-millisecond latency provided by io2 Block Express. This architecture is designed specifically for high-throughput applications that cannot afford the performance fluctuations often seen in lower tiers.
Conversely, throughput-intensive workloads like Kafka, log processing, or big data clusters benefit from HDD-backed volumes. Options like st1 deliver up to 500 MiB/s at a significantly lower price point than SSDs. However, you should never use HDDs for boot volumes or workloads with random I/O patterns, as Amazon EBS latency will quickly degrade application response times. To maintain high availability for shared workloads, io1 and io2 volumes support EBS Multi-Attach, allowing you to connect a single volume to up to 16 Nitro-based instances within the same Availability Zone.
Eliminating the EC2-to-EBS bottleneck
Your storage performance is only as efficient as the connection to your compute. You must utilize EBS-optimized EC2 instances to provide dedicated bandwidth exclusively for I/O traffic. Without this dedicated pipe, storage throughput often competes with general network traffic, resulting in unpredictable spikes in AWS EBS throughput that can throttle your application.
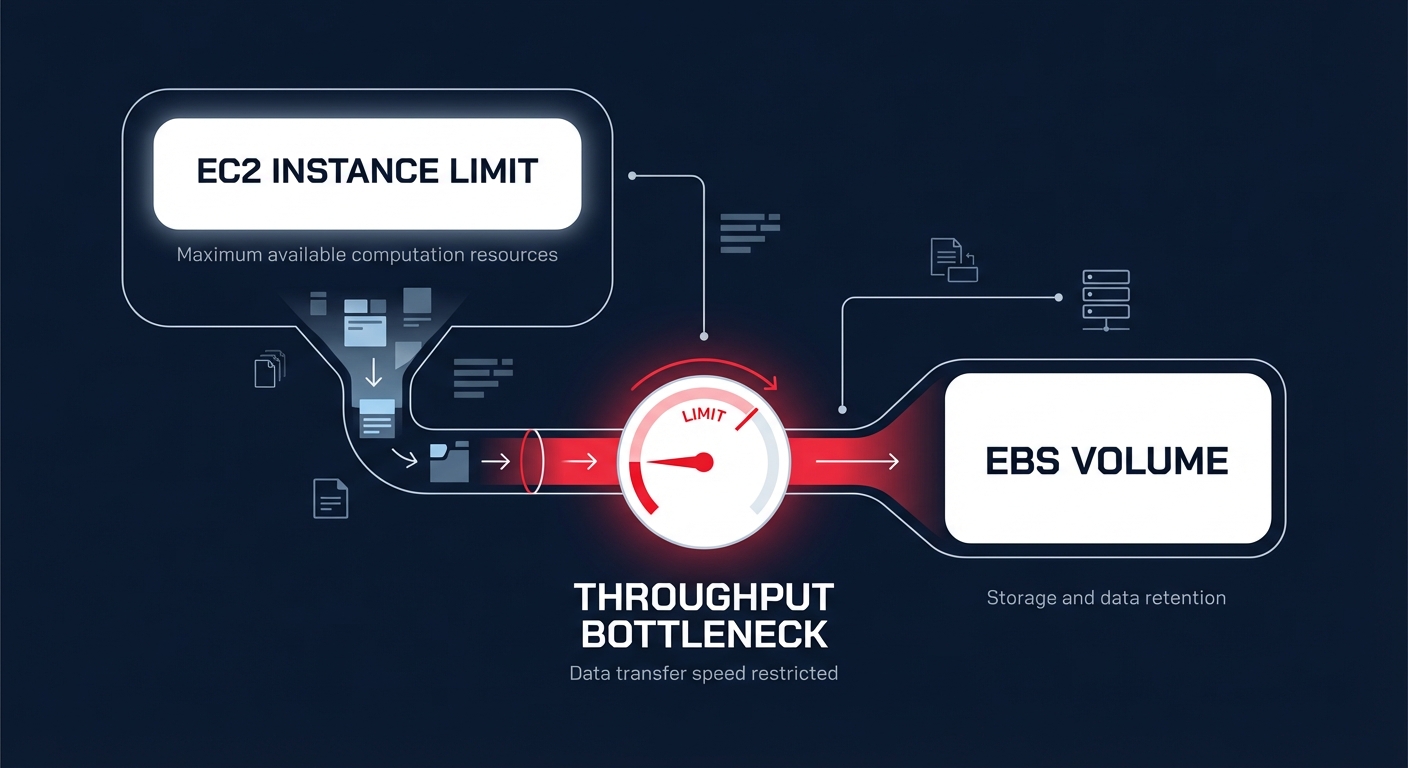
Even with optimized instances, engineering teams must monitor the relationship between instance-level limits and volume-level provisioning. For instance, attaching a gp3 volume configured for 1,000 MiB/s to a t3.medium instance will result in a performance cap of approximately 260 MiB/s because the instance itself cannot handle the higher volume throughput. To identify these hidden throttles, you should track the VolumeQueueLength metric in Amazon CloudWatch. While a queue length of four or more is often necessary for HDD consistency, a consistently high queue length on SSDs usually indicates that you need to provision IOPS independently to meet demand.
Security and resilience by default
Performance gains are meaningless if your data isn’t resilient and secure. You should configure your AWS account to enable EBS encryption by default across all new volumes using AWS Key Management Service (KMS). This baseline ensures that every resource, including ephemeral boot disks, is protected without requiring manual intervention from your DevOps team for every new deployment.
To safeguard data integrity, use the Amazon Data Lifecycle Manager (DLM) to automate your snapshot policy. This tool manages the creation, retention, and deletion of backups to ensure you remain compliant without inflating S3 storage costs with outdated data. For complex applications, multi-volume snapshots ensure that data across multiple volumes attached to the same instance is captured at the exact same point in time. When recovery is necessary, enabling Fast Snapshot Restore (FSR) eliminates the first-read penalty where data is lazy-loaded from S3, ensuring your restored volumes deliver 100% of their provisioned performance the moment they are created.
Right-sizing and cost optimization at scale
The most immediate cost lever for most AWS engineering teams is migrating from gp2 to gp3. Because gp3 decouples performance from storage capacity, it is generally 20% cheaper per GiB than its predecessor. Many organizations leave gp2 volumes in production out of habit, but this results in paying for “bundled” IOPS that your application may never actually utilize.
Beyond selecting the right tier, you must identify and eliminate orphaned resources that act as silent budget killers. Unattached EBS volumes and forgotten snapshots can account for thousands of dollars in monthly waste. Implementing a robust AWS cost allocation tagging strategy makes every GB visible to the finance and engineering teams. By attributing costs to specific owners or projects, you can perform more effective AWS cost management and prune underutilized resources during regular infrastructure audits.
Automating EBS optimization with Hykell
Manually reviewing thousands of EBS volumes for right-sizing opportunities is an impossible burden for busy engineering teams. Hykell transforms this process by providing automated cloud cost management that monitors your actual IOPS and throughput patterns in real-time. Instead of wasting engineering weeks on manual migrations, the platform identifies underutilized resources and executes automated EBS and EC2 optimizations on autopilot.
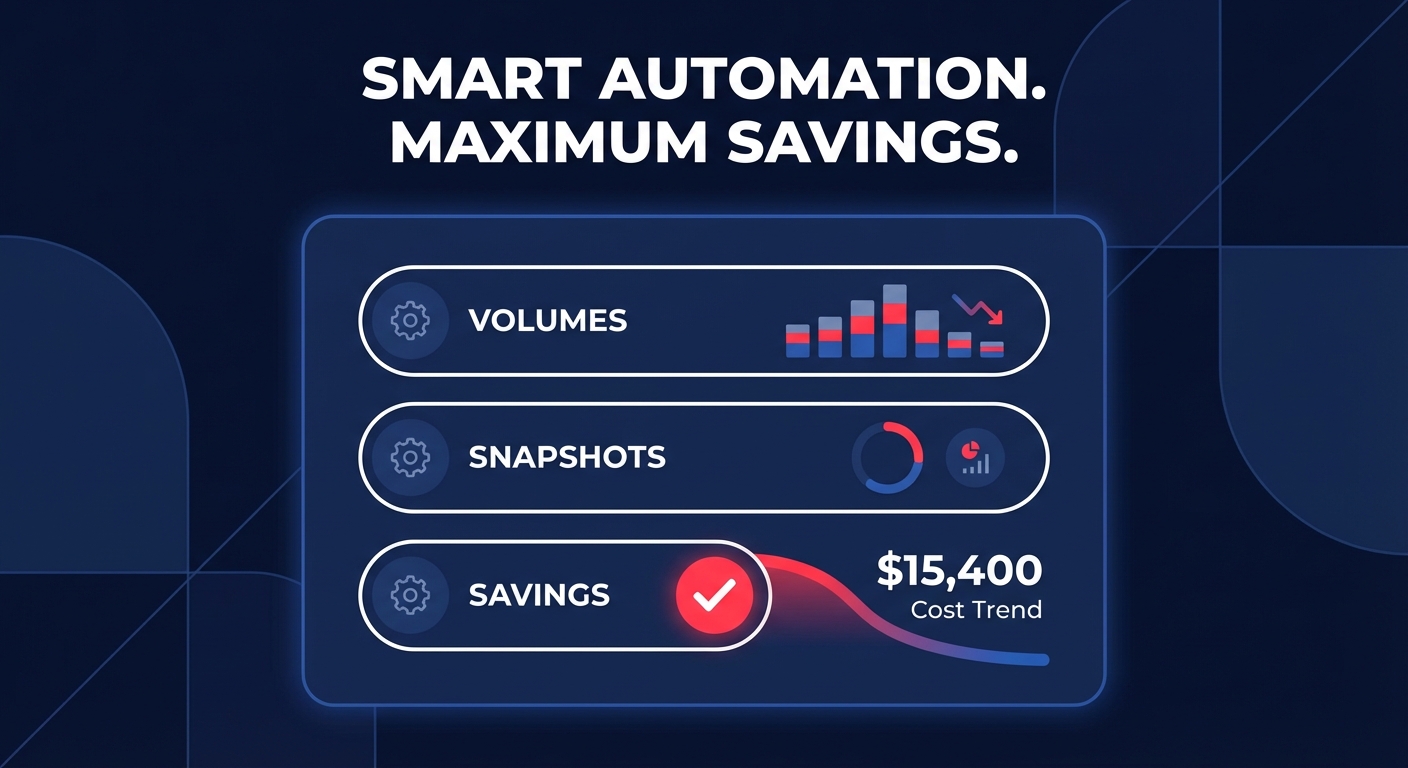
Hykell’s performance-first approach ensures that you never sacrifice speed for savings. By dynamically adjusting your infrastructure to match real-world demand, the platform can reduce your total AWS bill by up to 40% without requiring a single line of code change. Because the service operates on a performance-based pricing model, you only pay a fraction of what you actually save.
Stop guessing your storage requirements and let automation handle the heavy lifting of cloud efficiency. Calculate your potential savings today and see how Hykell can optimize your AWS storage footprint while your team focuses on building.