Did you know that organizations typically waste 32% of their cloud spend? For a growth-stage startup, burning $1 out of every $3 on idle resources isn’t just inefficient – it is a direct hit to your runway and your ability to scale.
Managing AWS costs often feels like a game of whack-a-mole. As soon as you right-size an instance, a developer might launch a high-performance RDS cluster in a sandbox environment and forget to shut it down. To achieve sustainable savings, you need a systematic approach that combines visibility, immediate waste elimination, and automated governance. Use this step-by-step checklist to regain control of your AWS bill.
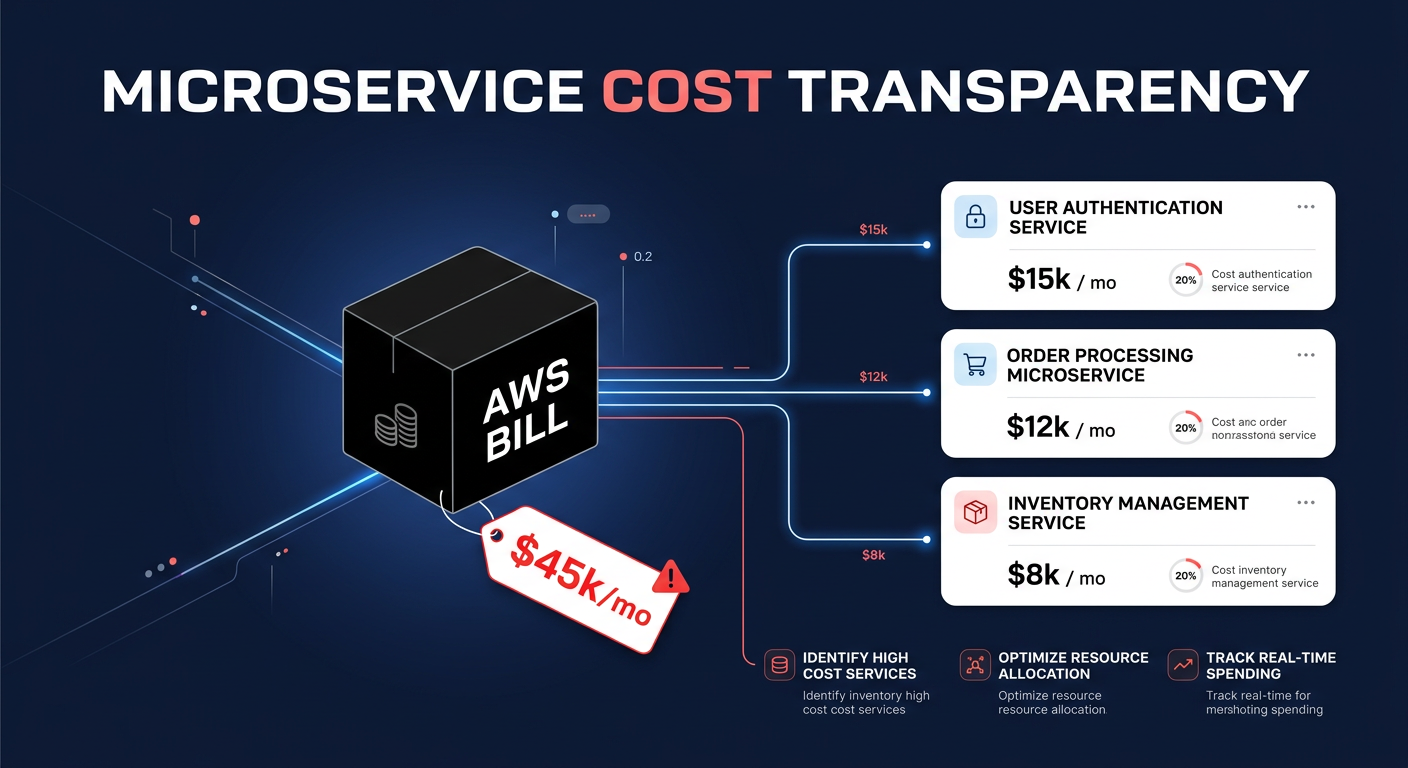
Establish 100% visibility and “showback”
You cannot optimize what you cannot see. Startups often suffer from “unallocated spend,” where large portions of the bill are not tied to specific teams or projects. In some cases, these unallocated line items can consume up to 50% of your total cloud budget. Establishing visibility is the first step toward creating a culture of accountability where engineering choices reflect financial impact.
- Activate Cost Allocation Tags: Enforce a “Goldilocks” taxonomy to avoid tag sprawl while ensuring coverage. Use AWS cost allocation tags like `Environment`, `Project`, and `Owner` to ensure every dollar spent is accountable.
- Configure AWS Budgets: Do not wait for the end-of-month invoice to discover a spike. Set up proactive monitoring with AWS Budgets and configure alerts at 50%, 80%, and 100% of your forecasted spend.
- Deploy Anomaly Detection: Traditional static thresholds often miss subtle spend creeps. Enable AWS Cost Anomaly Detection with a 10% variance threshold to catch misconfigured resources, such as a looping Lambda function, before they result in a five-figure surprise.
Eliminate “zombie” resources and immediate waste
Before focusing on complex architecture changes, you should clear out the “zombies” – resources that are running but providing zero value. Idle resources account for roughly 40% of cloud waste, often stemming from development environments left running 24/7 or orphaned volumes from long-terminated instances.
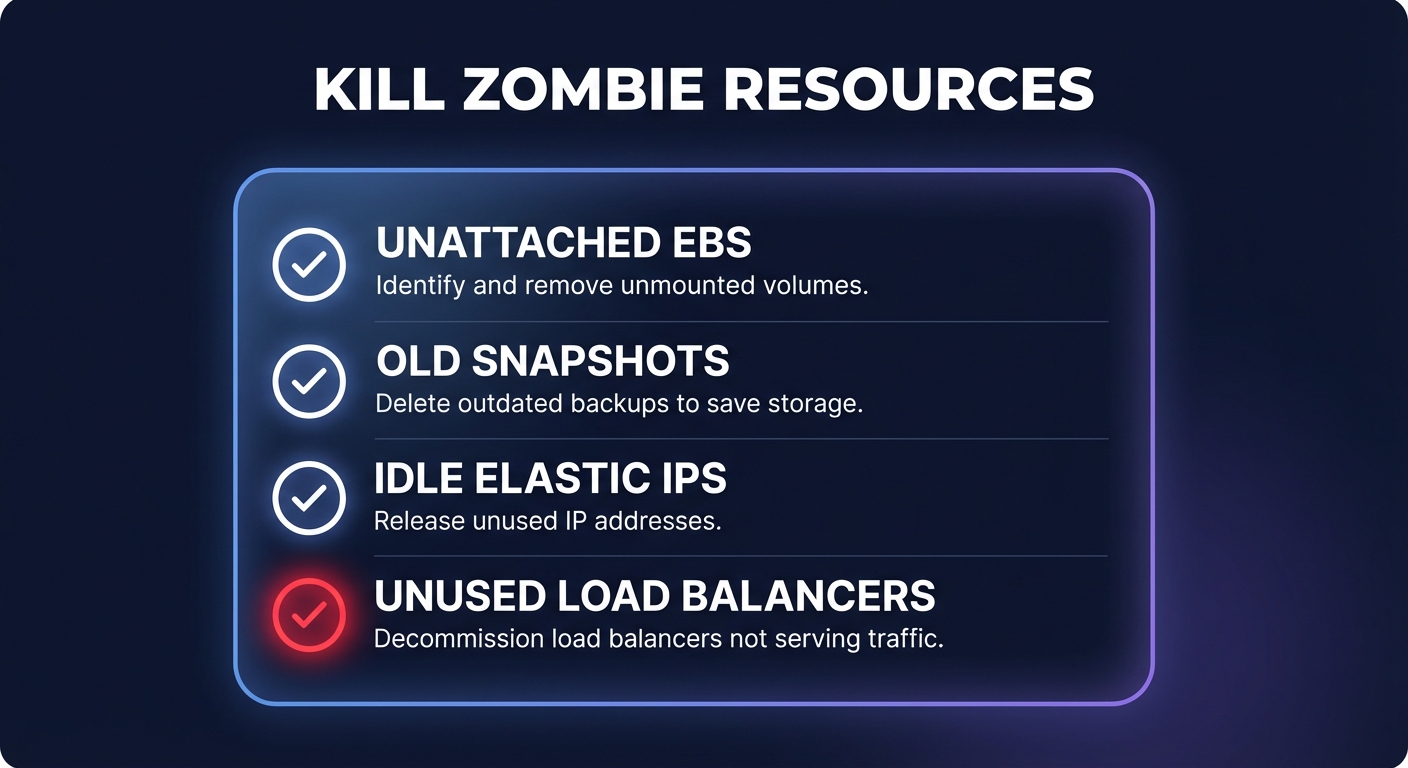
- Delete Unattached EBS Volumes: When you terminate an EC2 instance, the Elastic Block Store (EBS) volume often persists. These orphaned volumes can cost thousands annually if not cleaned up.
- Cleanup Aged Snapshots: Use the cost pillar in AWS Trusted Advisor to identify snapshots older than 30 days that are no longer necessary for your recovery objectives.
- Release Idle Elastic IPs: AWS charges for Elastic IP addresses that are not associated with a running instance. Releasing these can provide small but immediate “quick wins” for your bill.
- Terminate Idle Load Balancers: Check for Elastic Load Balancers (ELBs) with a zero `RequestCount` over the last seven days. If they are not receiving traffic, they are likely leftovers from a previous deployment.
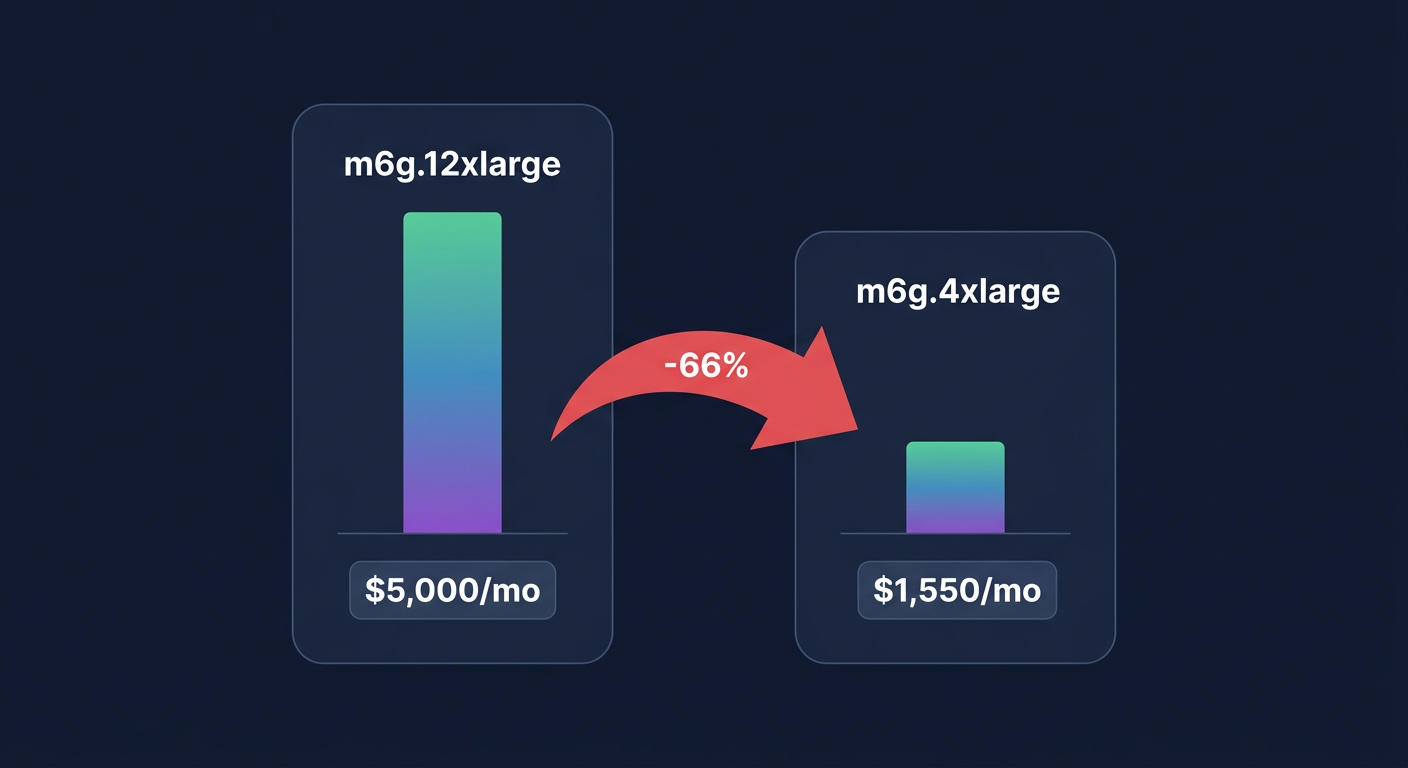
Right-size compute and storage
Over-provisioning accounts for approximately 30% of cloud waste. Many startups launch “m-family” instances for every workload out of habit, yet many of these instances sit below 10% CPU utilization at peak. Rightsizing ensures your instance types and sizes match your actual performance requirements at the lowest possible cost.
- Analyze CPU and Memory: Leverage AWS EC2 cost optimization strategies to find instances with less than 40% utilization. If an instance has high memory needs but low CPU requirements, migrating from a `t3.xlarge` to an `r6g.large` can yield significant savings.
- Migrate to gp3 Volumes: If your workloads still rely on `gp2` storage, migrating to `gp3` is one of the easiest ways to save. It is typically 20% cheaper and allows you to provision IOPS and throughput independently of storage size.
- Adopt AWS Graviton: Migrating to Arm-based AWS Graviton instances offers up to 40% better price-performance over comparable x86 instances for Linux-based workloads like containers and web apps.
- Schedule Non-Prod Environments: Development and staging environments rarely need to run through the night. Implementing automated shutdown schedules for non-production compute can reduce those specific costs by up to 70%.
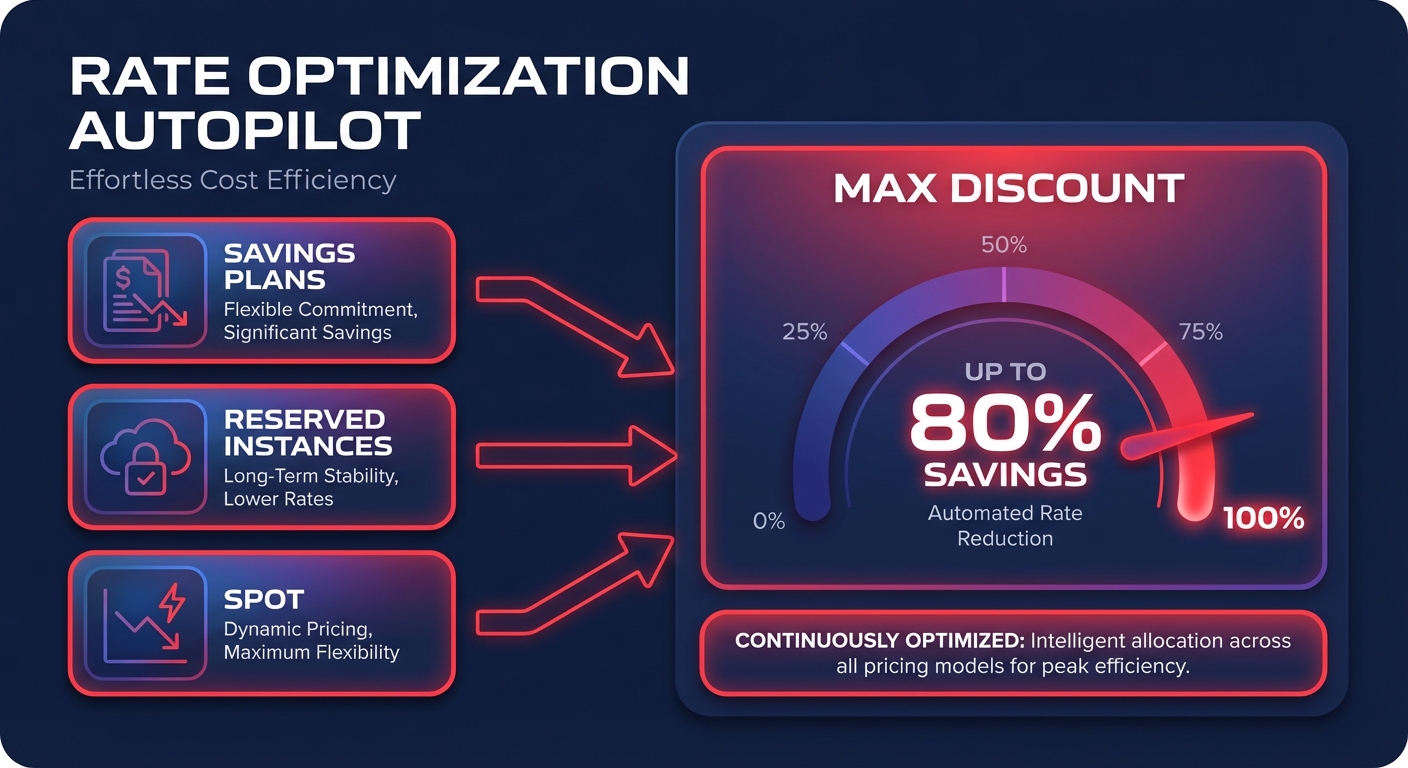
Master the “rate optimization” mix
Once your infrastructure is lean, you must optimize the price you pay for those resources. This is where the deepest discounts live, but it requires a careful balance between long-term commitment and architectural flexibility.
- Baseline with Savings Plans: For steady-state workloads, AWS Savings Plans offer up to 72% discounts. Use Compute Savings Plans if you expect to change instance families or move workloads between regions.
- Use Spot Instances for Fault-Tolerant Tasks: CI/CD pipelines, batch processing, and stateless microservices are perfect candidates for Spot Instances, which provide up to 90% savings compared to On-Demand prices.
- Strategic RI Management: For stable, single-region database workloads, Reserved Instances remain a powerful tool for locking in deep discounts on RDS or legacy EC2 fleets.
Managing this mix manually is a full-time job that most startups cannot afford. Hykell provides automated AWS rate optimization that uses AI to blend Savings Plans and Reserved Instances. This ensures you capture the maximum discount without the risk of over-committing to unused capacity.
Architect for egress efficiency
Data transfer costs – specifically internet egress and cross-Availability Zone (AZ) traffic – are “hidden” fees that often inflate a bill by 10% or more. Without proper architectural patterns, these costs can silently devour your budget as you scale.
- Minimize Cross-AZ Traffic: Keep high-bandwidth traffic within the same AZ where possible. Cross-AZ transfers typically incur $0.01/GB charges in each direction, which adds up quickly in data-intensive applications.
- Leverage CloudFront: Using a Content Delivery Network (CDN) to cache data closer to users reduces the load on your origin and lowers overall AWS egress costs.
- VPC Endpoints: Connect to services like S3 or DynamoDB privately using VPC Endpoints. This allows you to avoid expensive NAT Gateway processing charges, which often cost $0.045 per hour plus data processing fees.
Put your cost optimization on autopilot
For most startups, engineering time is the scarcest resource available. Every hour spent manually auditing a spreadsheet or conducting a cloud cost audit is an hour not spent building your core product or finding product-market fit.
Hykell removes the manual burden by automating the heavy lifting of cloud financial management. We dive deep into your infrastructure to identify underutilized resources, optimize EBS volumes, and manage your Kubernetes efficiency – all while maintaining peak performance for your users.
Our model is entirely performance-based, ensuring our incentives are perfectly aligned with your growth. We only take a slice of what we save you; if we do not find savings, you do not pay. Calculate your potential savings today and see how much of your AWS bill you can reclaim with zero engineering effort.